SmartRTSP is a free RTSP and ONVIF camera viewer for iPhone, iPad, and Mac. This guide walks you through adding your first camera in 5 minutes using either ONVIF auto-discovery (recommended) or manual RTSP URL entry.
SmartRTSP connects directly to your IP security cameras over your local Wi-Fi network — no cloud account, no subscription, and no proprietary hub required. Any camera that supports the standard RTSP protocol or ONVIF will work, including cameras from Hikvision, Reolink, Dahua, Amcrest, Axis, Bosch, TP-Link Tapo, Foscam, and many more.
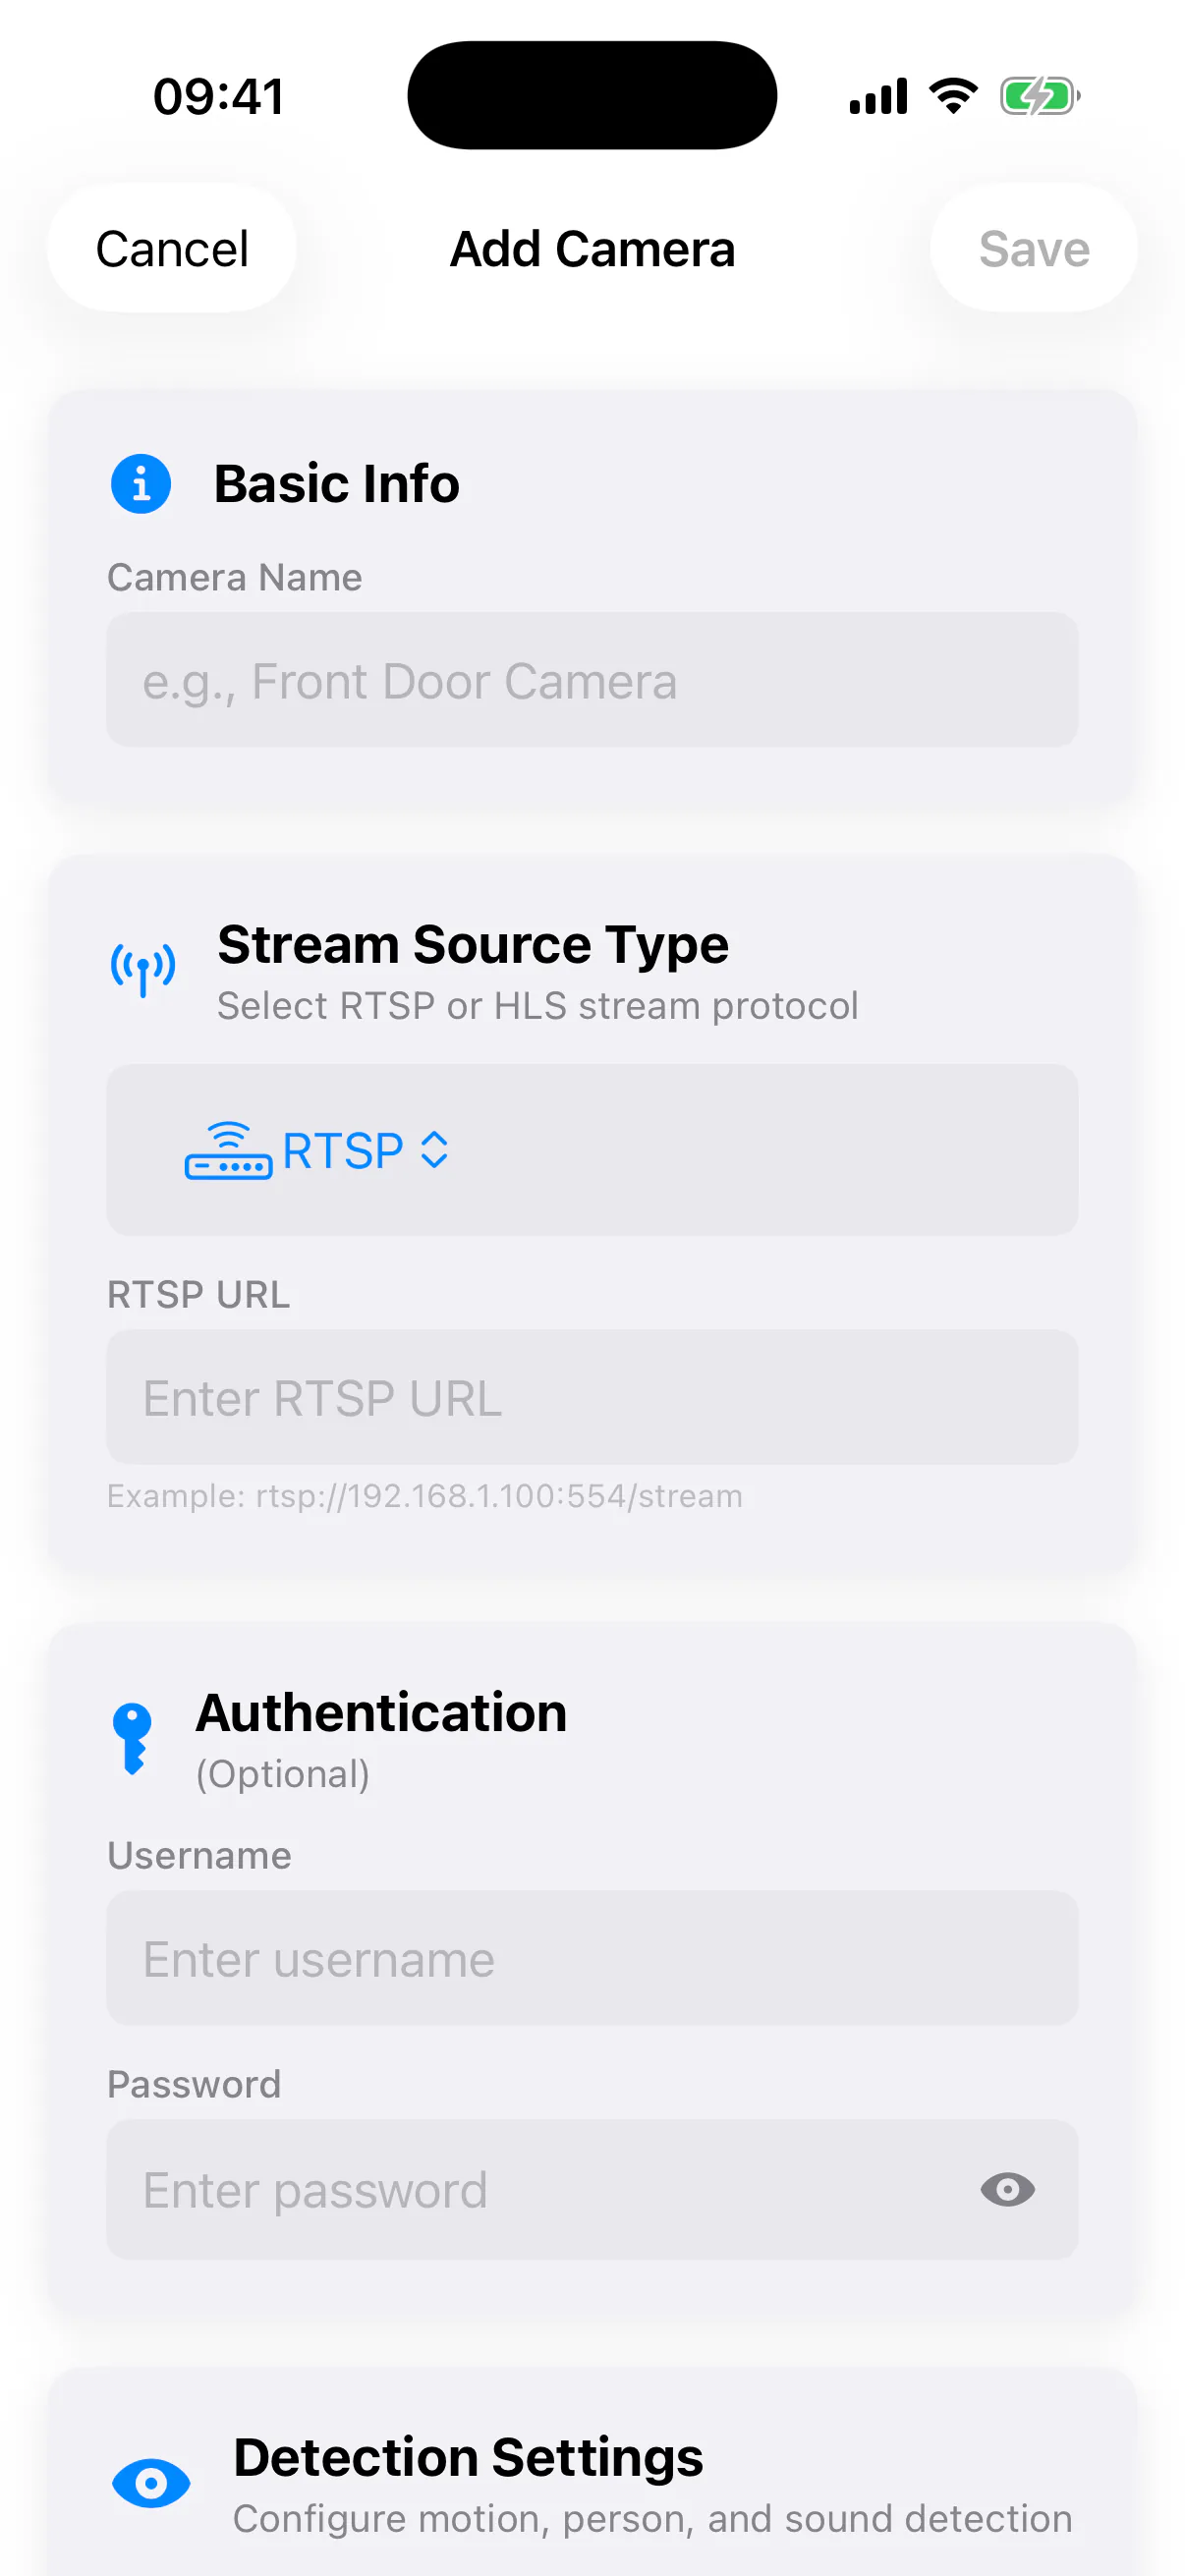
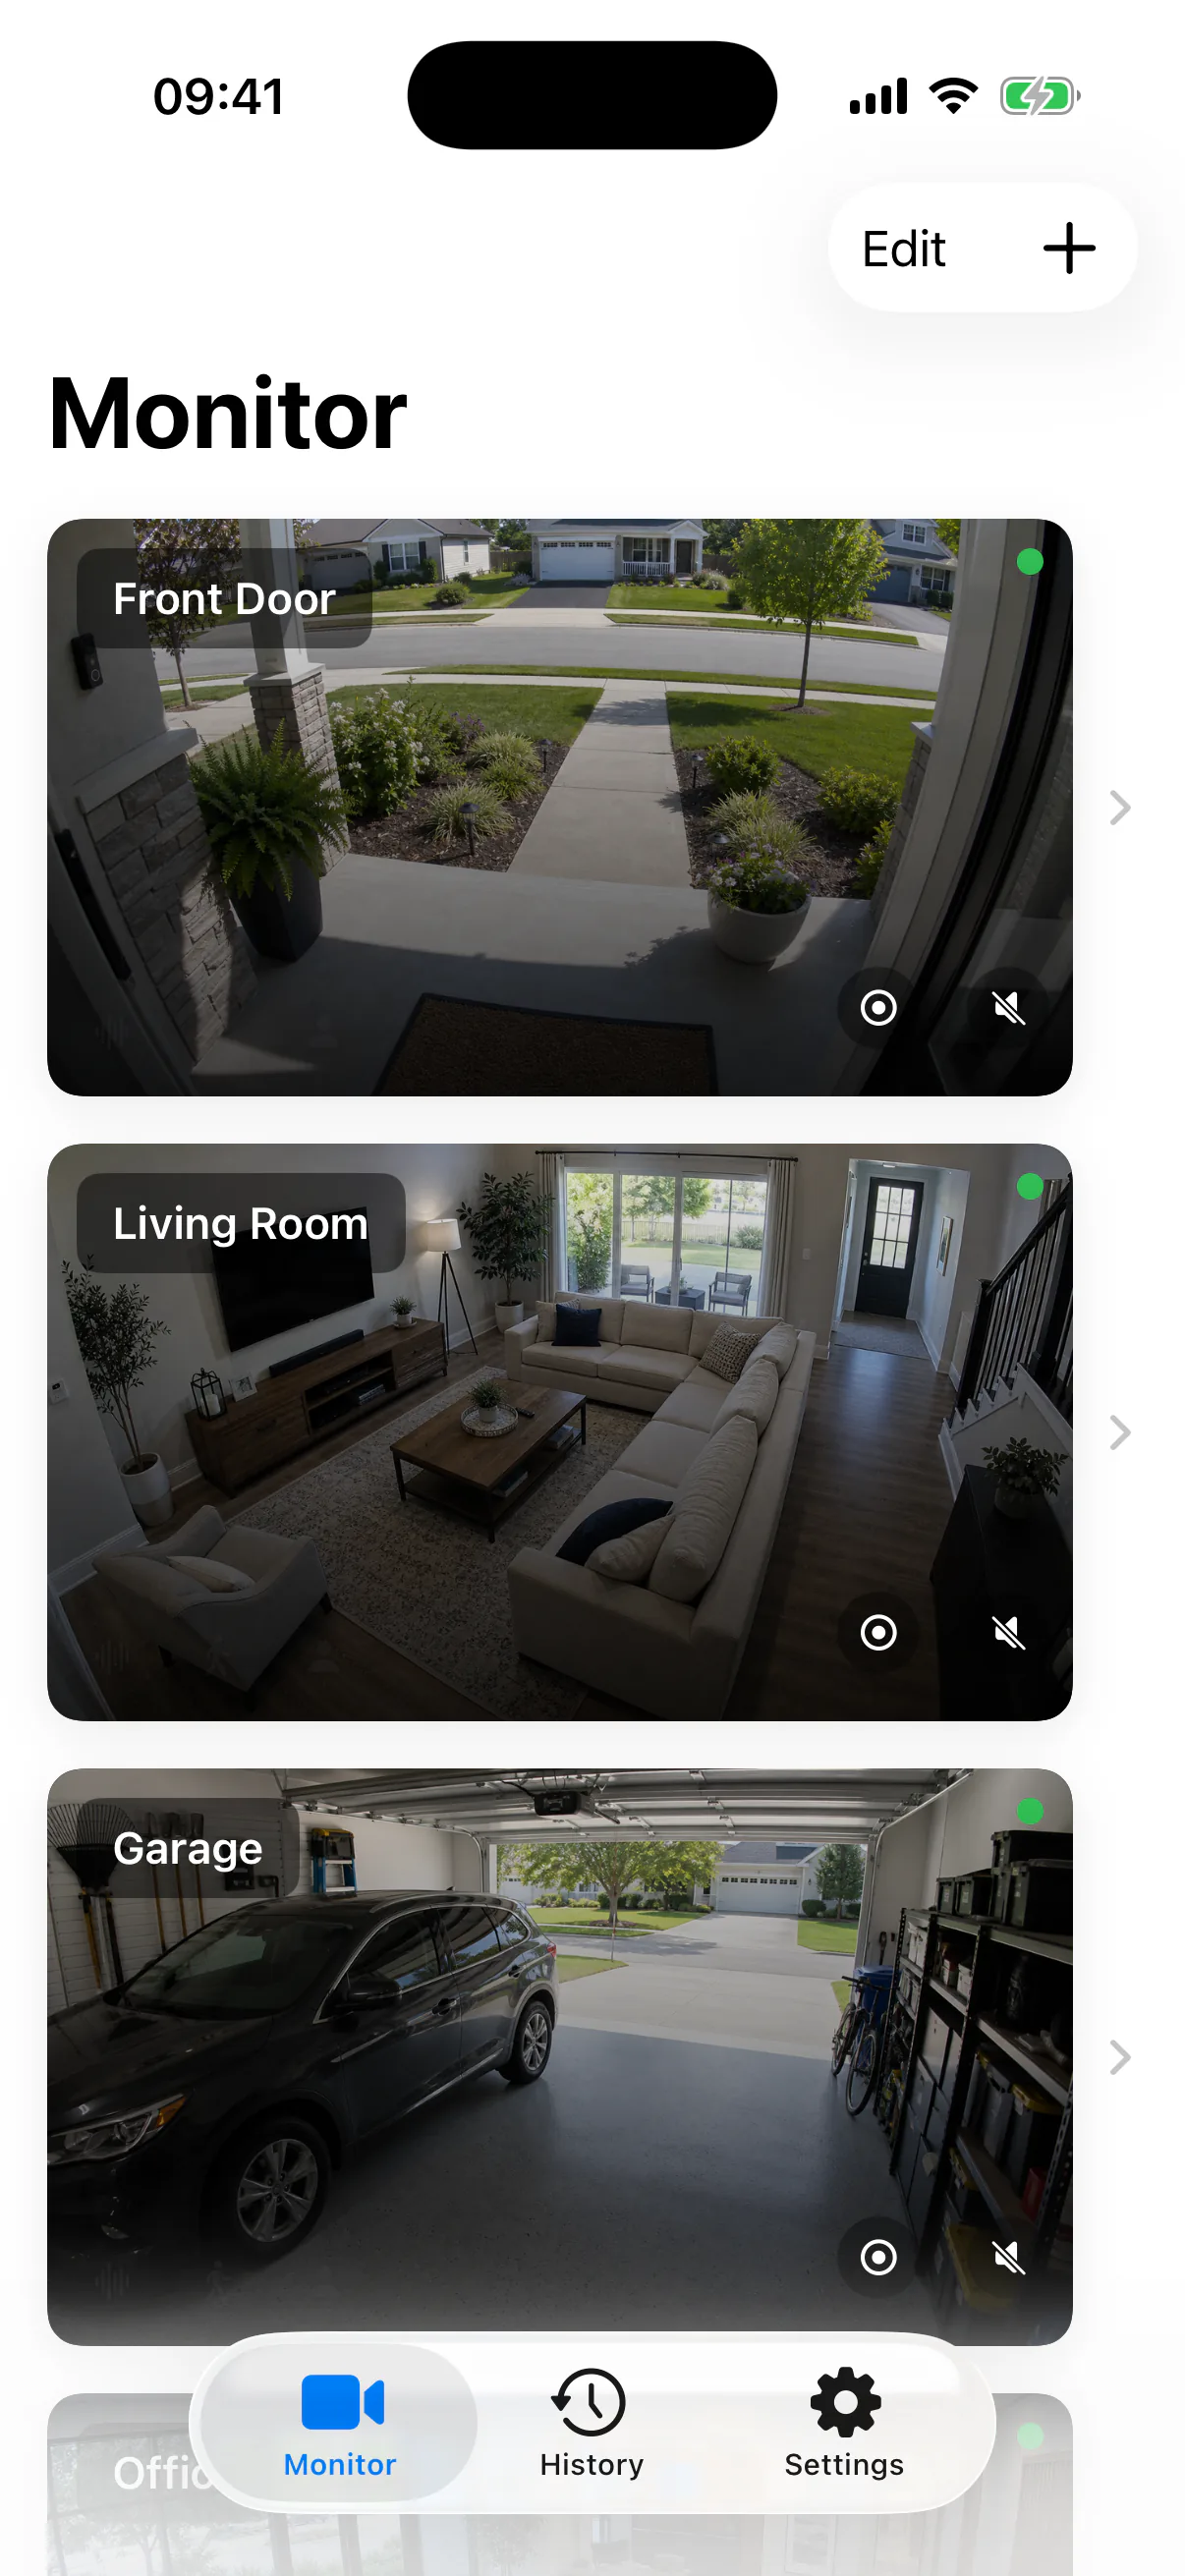
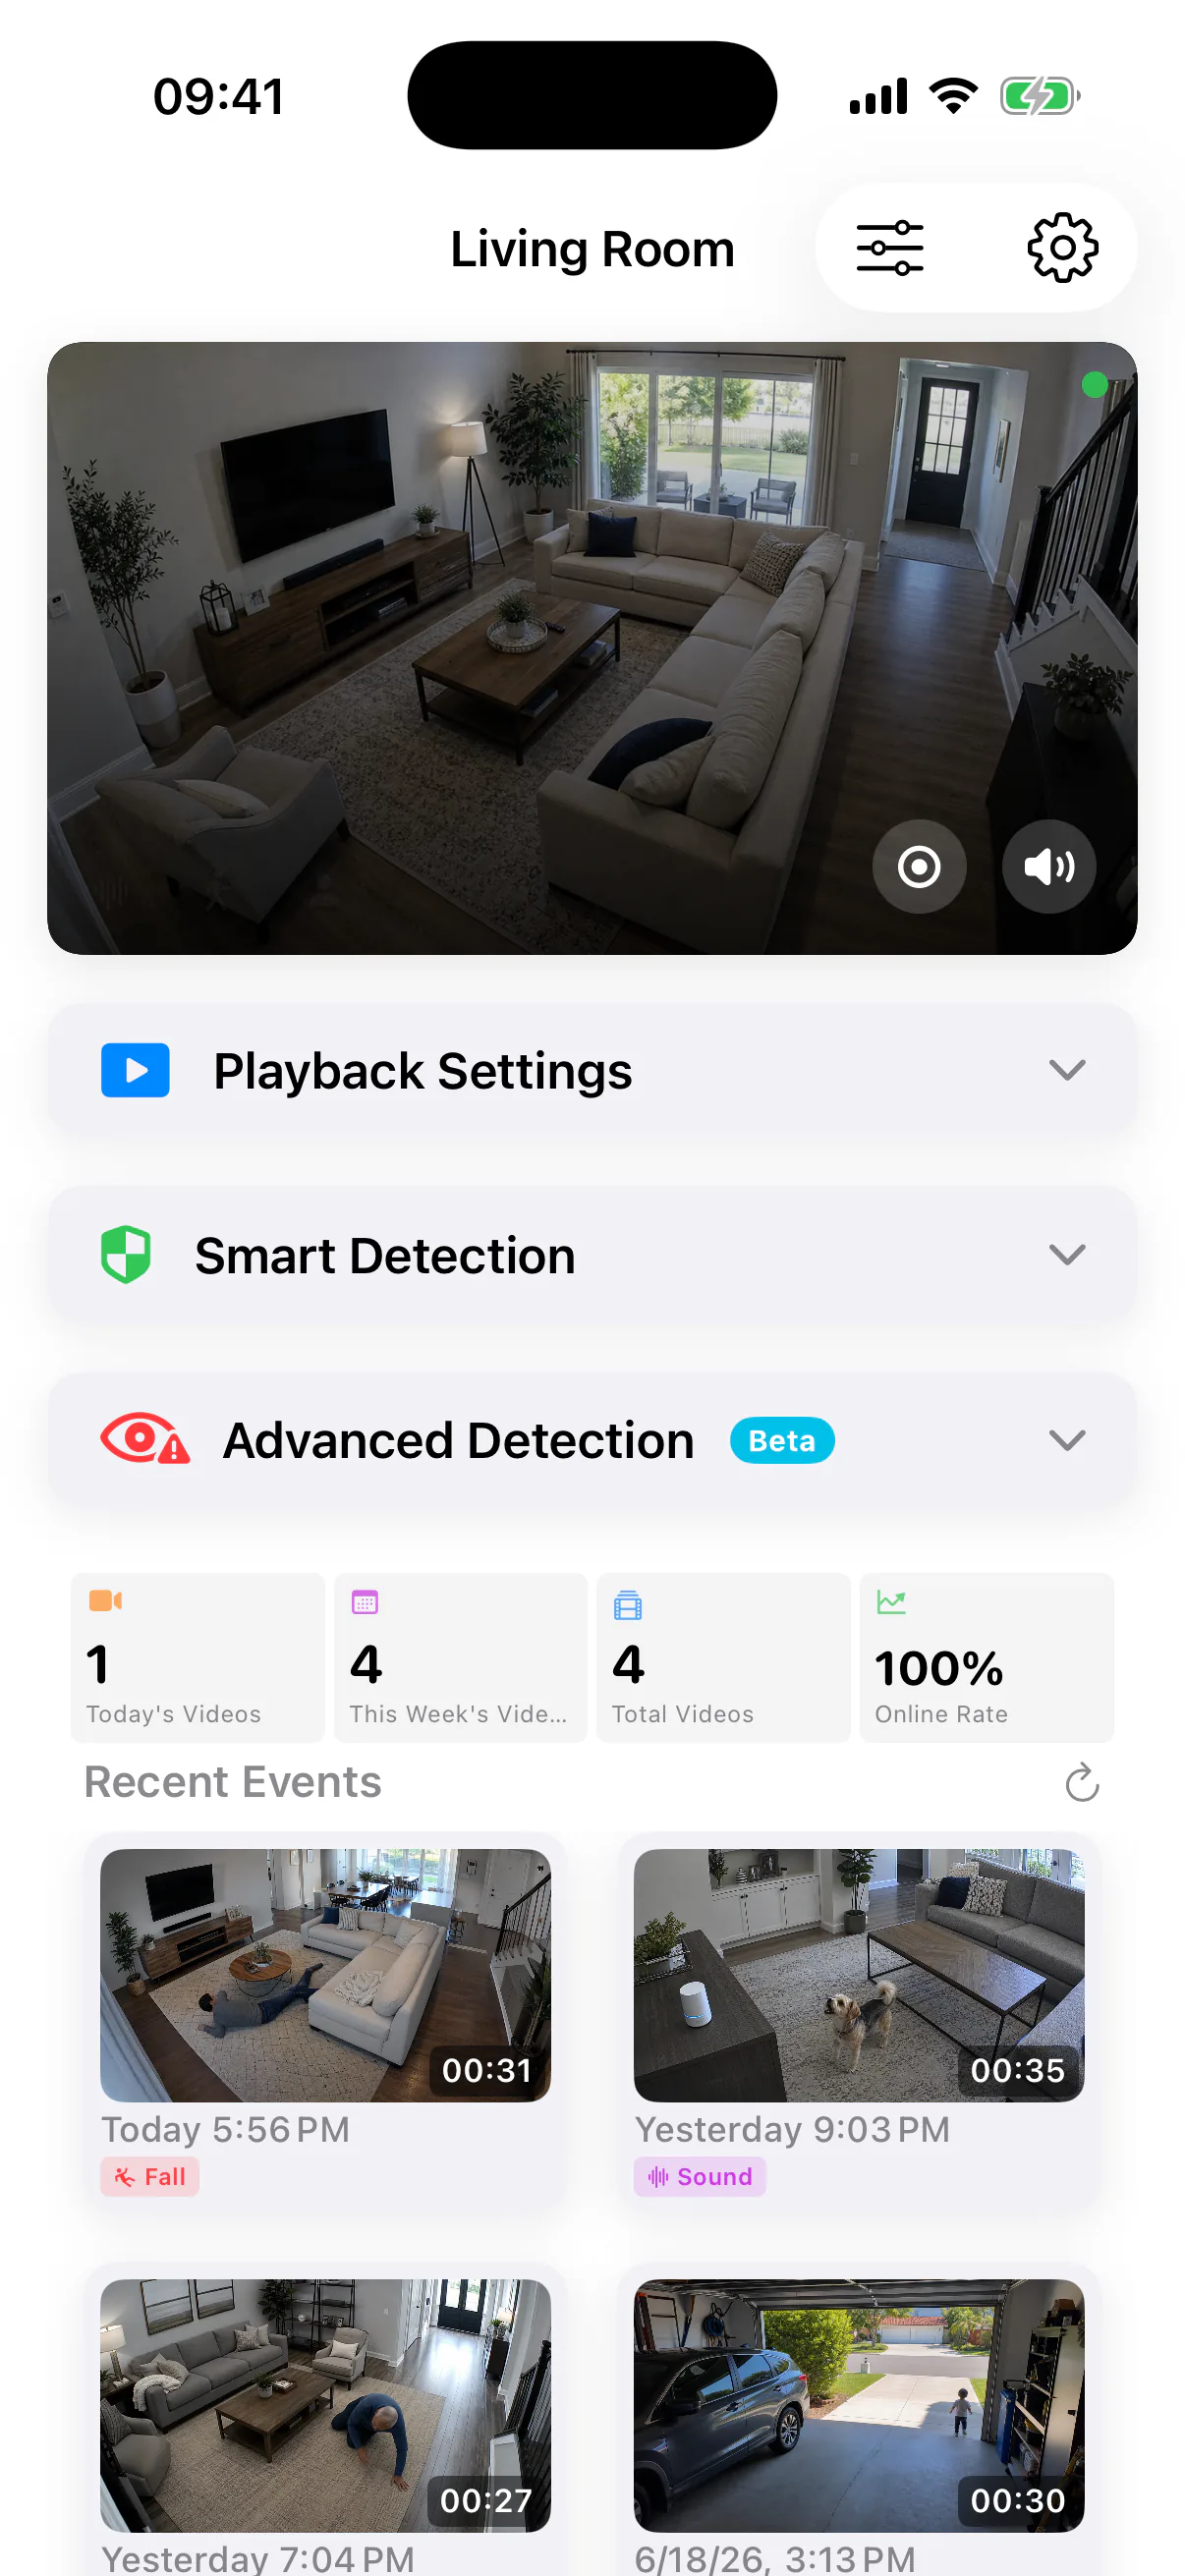
What setup looks like in SmartRTSP
These screenshots show the camera setup flow, monitor view, and per-camera detail screen.
Before You Start
Make sure you have the following ready before opening the app:
-
✓
Camera on the same Wi-Fi network. Your camera and your iPhone (or Mac) must be connected to the same local network. RTSP is a local protocol — it does not work across different networks without a VPN.
-
✓
Camera's IP address and login credentials. You'll need the camera's local IP address (e.g., 192.168.1.100), username, and password. These are typically set during initial camera setup or found in the camera's web interface.
-
✓
SmartRTSP downloaded and installed. Download SmartRTSP free from the App Store for iPhone/iPad, or from the Mac App Store for macOS.
Method 1 — ONVIF Auto-Discovery (Recommended)
ONVIF auto-discovery is the fastest way to add a camera. SmartRTSP sends a broadcast on your network and compatible cameras respond automatically — no URL entry required. This works with Hikvision, Reolink, Dahua, Amcrest, Axis, Bosch, and most professional IP cameras.
-
1
Open SmartRTSP and tap the + button (or scan icon) on the main camera list screen.
-
2
Select "ONVIF Scan" from the options that appear.
-
3
Wait 3–5 seconds while SmartRTSP scans your network. Any ONVIF-compatible cameras will appear in the list with their IP address and model name.
-
4
Tap your camera in the results list. Enter your camera username and password when prompted.
-
5
Done. The live stream will begin playing within a few seconds.
Works automatically with: Hikvision, Reolink, Dahua, Amcrest, Axis, Bosch, Hanwha, Uniview, and most professional IP cameras. TP-Link Tapo cameras require ONVIF to be enabled in the Tapo app settings first.
Method 2 — Manual RTSP URL Entry
If your camera wasn't found by ONVIF scan, or if you prefer to enter the URL directly, you can add any camera manually using its RTSP URL.
-
1
Tap + then select Manual.
-
2
Enter the RTSP URL in the standard format, or use
rtsps://for encrypted RTSP over TLS:rtsp://username:password@192.168.1.100:554/stream-pathrtsps://username:password@192.168.1.100:322/stream-path -
3
Give the camera a name so you can identify it later (e.g., "Front Door", "Garage").
-
4
Tap Connect. SmartRTSP will attempt to connect and begin streaming.
| Brand | RTSP URL (Main Stream) |
|---|---|
| Hikvision | rtsp://user:pass@IP:554/Streaming/Channels/101 |
| Reolink | rtsp://user:pass@IP:554/h264Preview_01_main |
| Dahua / Amcrest | rtsp://user:pass@IP:554/cam/realmonitor?channel=1&subtype=0 |
| TP-Link Tapo | rtsp://user:pass@IP:554/stream1 |
Need your brand's URL? See the camera-specific setup guides for exact URLs and step-by-step instructions.
Adding Multiple Cameras
SmartRTSP supports an unlimited number of saved cameras. To add additional cameras, repeat the process above — either via ONVIF scan or manual URL entry — for each camera. Each camera is saved to your camera list and can be accessed instantly.
To view multiple cameras at once, tap the grid icon in the top-right corner of the camera list. SmartRTSP displays up to 4 simultaneous live streams in a 2×2 grid layout, letting you monitor multiple locations at once.
What's Next?
Enable on-device AI to detect people, faces, pets, vehicles, and more — with cascaded detection for 60–80% CPU savings.
Configure motion-triggered recordings with pre-buffer capture and automatic event history saved to your Photos library.
Learn how to add all channels from a Hikvision, Dahua, or Reolink NVR to SmartRTSP.
Brand-specific guides for Hikvision, Reolink, Dahua, Tapo, and more.